
Whether you're just picking up a camera or you've been shooting for years, you've probably come across the term ISO. It's one of those words that gets thrown around a lot in photography circles. But what is ISO, really? And how does it actually affect your photos?
In this article, we’ll dive into how ISO interacts with other camera settings like aperture and shutter speed, when to raise or lower ISO, how ISO affects a photo, and even how post-processing plays a role.
What does ISO stand for in photography?
ISO (pronounced Eye-so, not I-S-O) stands for the International Organization for Standardization. Back in the film days, it was known as ASA (American Standards Association). Essentially, ISO is a standardized scale that measures the light sensitivity of a film or digital sensor.
ISO 101: The Numbers and What They Mean
ISO values typically follow a doubling scale. You might recognize numbers like:
- 100
- 200
- 400
- 800
- 1600
- 3200
- 6400
- 12,800
- 25,600
Each step up doubles the sensor’s sensitivity to light. So ISO 200 is twice as sensitive as ISO 100, and ISO 800 is eight times as sensitive. This doubling scale is super helpful when you're trying to quickly adjust exposure. Think of it like turning up a dimmer switch in a dark room.
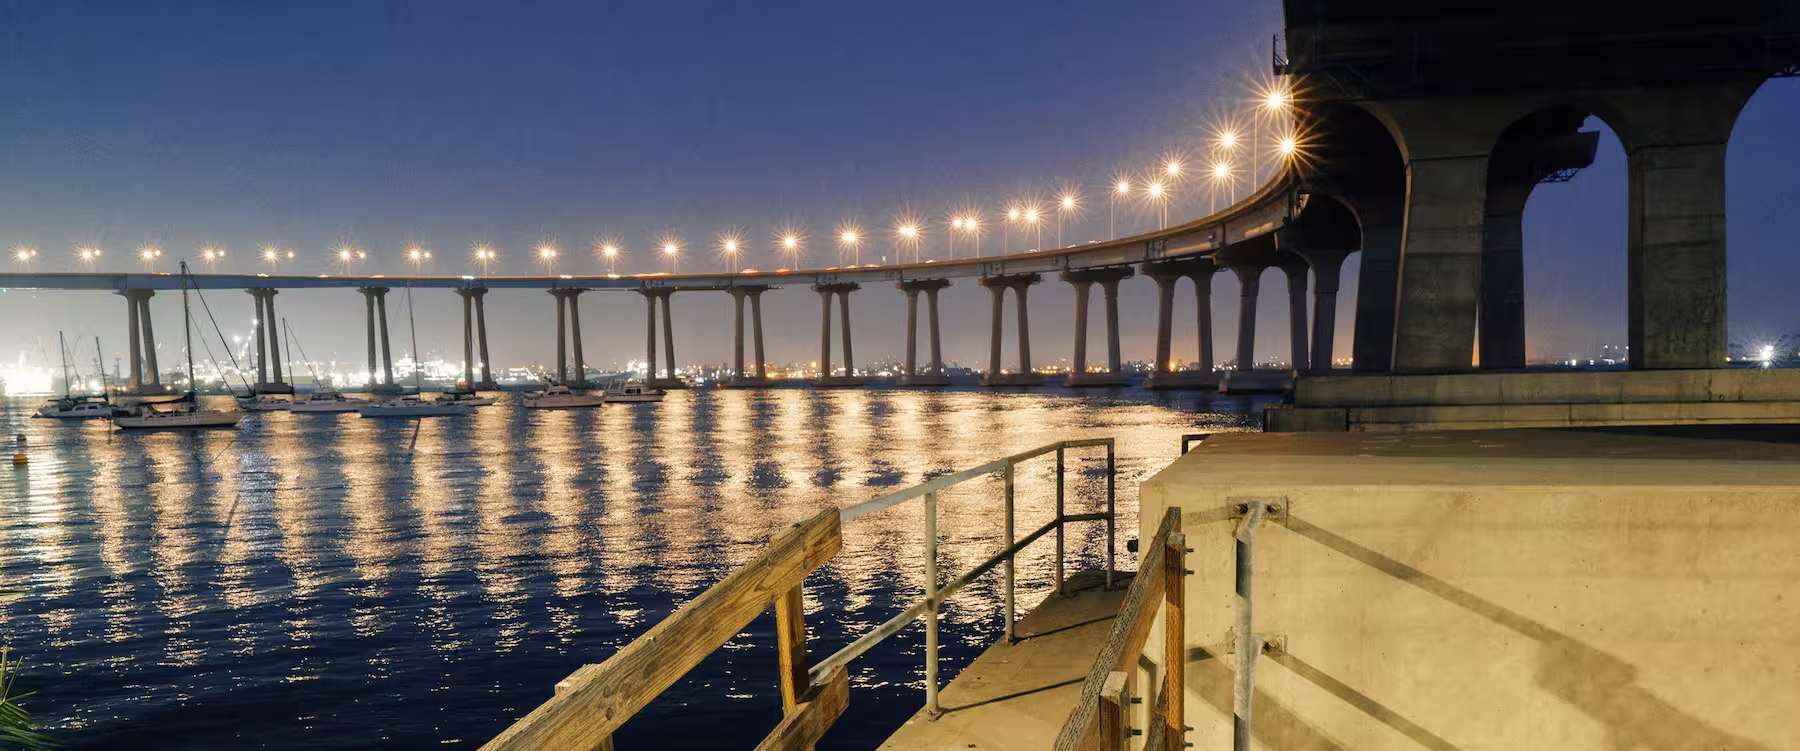
The higher the ISO, the more sensitive to light it is. So generally, ISO 3200 is better for night time photography than 100— but we’ll dig into that more in a bit.
How Does ISO Affect a Photo?
ISO affects two main things:
- Brightness – Higher ISO makes your photos brighter because your camera becomes more sensitive to light. Lower ISO results in darker photos (assuming shutter speed and aperture remain the same).
- Image Quality – The trade off for increased brightness is noise (a grainy or speckled look). The higher the ISO number, the more noise or grain there is. Lower ISO values generally produce cleaner, sharper images with better detail and less grain. So, you usually want to use the lowest number you can to avoid image noise.
Lower ISOs also have higher dynamic range than higher ISOs, meaning they can capture a wider spectrum from dark to light.
Imagine you're using a megaphone to hear a whisper. You can hear it better (brighter image), but you also start picking up background noise (image grain).
ISO vs Aperture vs Shutter Speed: The Exposure Triangle
ISO is one side of the Exposure Triangle. The other two sides are:
- Aperture: Controls how wide your lens opens. A wider aperture (smaller f-number like f/1.8) lets in more light and creates a blurrier background. Learn more about aperture.
- Shutter Speed: Controls how long your camera's shutter is open. A slower speed lets in more light but risks motion blur. More on shutter speed here.
All three— ISO, aperture, and shutter speed— work together to get a properly exposed photo.
Let’s say you’re photographing a friend indoors. You don’t want motion blur, so you keep a fast shutter speed. But you also want a deep depth of field, so you close down your aperture. That means you now have less light coming in, so what do you do? Raise your ISO to compensate.
This is the essence of the ISO vs shutter speed or ISO vs aperture discussion. ISO is often your backup when you can’t open your aperture any wider or slow your shutter any more.
ISO Camera Settings: When to Use High or Low ISO
A good general rule is: use the lowest ISO you can get away with.
Here’s why:
- Low ISO (100-400): Ideal for bright conditions like daylight, studio lighting, or when using a tripod. Produces clean, high-quality images.
- Medium ISO (800-1600): Good for indoor shots or cloudy days when you need a little boost in light sensitivity.
- High ISO (3200 and above): Great for night photography, concerts, or any low-light situations where flash isn’t an option.
Remember: Higher ISO = more light sensitivity, but also more grain.
Adjust ISO on Your iPhone
If you're shooting with your iPhone, try the VSCO Capture camera app for more control. With manual settings—like ISO, shutter speed, and white balance—you can fine-tune your image before you even press the shutter.

Tips for Mastering ISO Like a Pro
- Auto ISO is your friend (sometimes): Most modern cameras let you set a max ISO so you can use Auto ISO without letting your images get too noisy.
- Know your camera’s limits: Every camera handles noise differently. Some full-frame sensors look clean at ISO 6400, while others might struggle at ISO 1600.
- Use ISO creatively: Grain isn’t always bad. It can add texture, mood, or a film-like feel to your photos. In fact, our VSCO app has several photo editing tools that add grain and texture in post-processing— like our grain filter and film effects.
A Real-World Example for using ISO
Say you’re shooting a birthday party at night. The room is dim, and everyone is moving around. Flash feels intrusive, and you want candid moments.
You set your aperture to f/2.8 to let in more light, your shutter speed to 1/125 to freeze motion, but the image is still too dark. The solution? Raise your ISO to 3200. Yes, you’ll get some grain, but you’ll capture the moment, and that’s what counts. Plus, a little noise and texture can add a nostalgic look to your photos— perfect for capturing the energy of a party.
ISO and Dynamic Range
Another often-overlooked aspect when adjusting camera settings is that lower ISOs generally have higher dynamic range. That means your camera can capture more detail in both highlights and shadows. If you plan to edit your photos later, this can make a big difference.
Post-Processing and ISO: Fixing the Noise
So, what if you had to shoot at a high ISO and now your photos are noisy? Or despite your best efforts when adjusting camera settings your photos are too dark or too light? That’s where post-processing comes in with a photo editor.
Some photo editing tips:
- Shoot RAW: RAW files retain more data and handle noise reduction better than JPEGs.
- Use luminance noise reduction sparingly: Start with low values and gradually increase.
- Use an exposure editor to brighten or darken images, or even a tool like Dodge and Burn to only edit exposure on specific areas of the photo.
Using ISO in Your Photography
Think of ISO as your light sensitivity dial — it gives you creative control when the lighting situation isn’t ideal. While shooting, keep these things in mind:
- What is ISO? A measure of your camera's sensitivity to light.
- How does ISO affect photos? It brightens your images but can add noise.
- ISO vs aperture vs shutter speed? All three work together to create proper exposure.
- Best practice for using ISO? Use the lowest ISO you can for clean images, but don’t be afraid to raise it when needed.
Whether you're aiming for the cleanest landscape shot at ISO 100 or embracing the grain for a gritty street photo at ISO 6400, knowing how to use ISO gives you freedom.
Hopefully, this guide makes ISO feel a bit more approachable. Like any tool, the more you use it, the more instinctive it becomes.
Now grab your camera, twist that ISO dial, and go shoot something awesome!