
With photography, capturing the moment is just the beginning. Basic photo editing techniques can transform your pictures — small adjustments can reveal new details, share a feeling, and even tell a story. Whether you're taking portraits of friends, catching some golden hour sun, or making the most of a photowalk, learning how to edit photos can help make sure they look as good, or even better, than the moments that created them.
This guide will walk you through how to start editing pictures — plus some helpful image editing tips along the way — so you can turn good shots into great ones in just a few taps.
Time to start editing your pictures, step-by-step:
- Apply a preset or film filter
- Crop and straighten your photo
- Adjust lighting with exposure, contrast, and tone
- Finesse color with white balance and saturation
- Enhance details with sharpen, clarity, and blur
- Explore film photo editing techniques
- Create recipes and find your photo editing style
- Export, save, and share your pictures
- Final image editing tips and tricks
If you haven’t already, download the VSCO app or use our online editor to follow along with these photo editing steps and see your photos come to life.
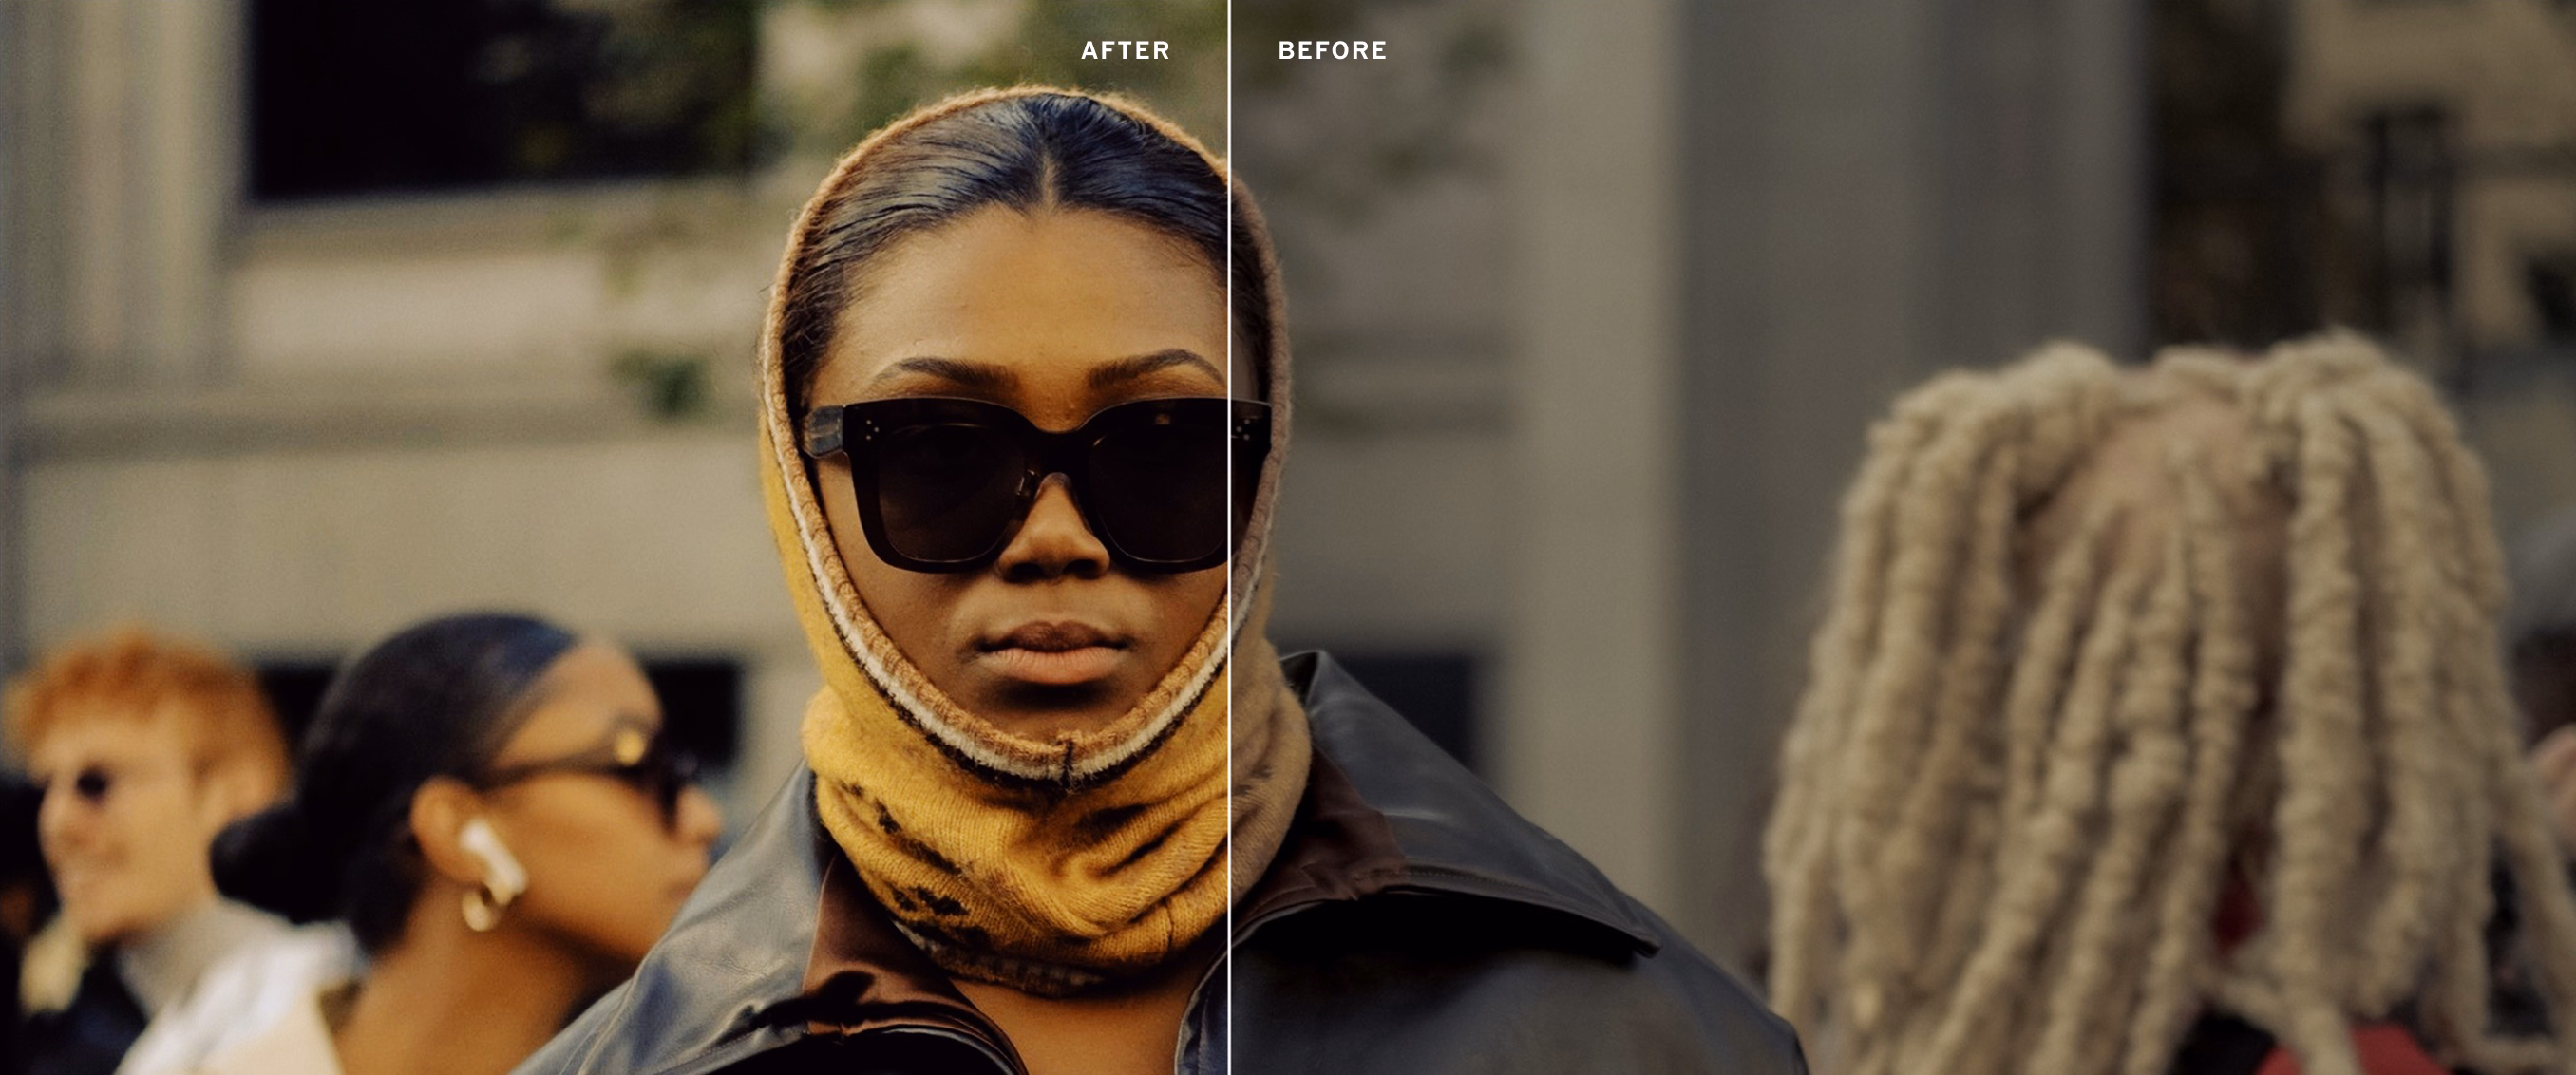
Photo filters are one-tap edits that apply a consistent, creative aesthetic to your photos and videos. Preset filters are the fastest way to give your pictures a refined, signature look, and they couldn’t be easier to use.
Our photography filters and presets put us on the map, and for good reason. VSCO Presets are inspired by classic film stocks and modern classics designed to bring out the most in your images, from landscapes to studio work.
How to apply a VSCO photo preset:
- In the mobile or desktop photo editor, tap the ‘+’ button in the bottom right of any tab in the app and use ‘Import’ to add photos and videos to your Studio.
- Once added to your Studio, tap any image to select it. Tap ‘Edit Image’ in the bottom left to start editing.
- The photo editing flow automatically starts with your preset library, simply tap a preset to apply it.
How to customize a filter:
- Once you choose and apply a filter, tap the preset tile again to quickly finesse your look.
- All presets have a Strength adjustment — choose the VSCO Membership that’s right for you to access more presets with even more controls, like Character and Warmth with film filters, or Pro presets that feature exclusive Contrast, Color, and Tone sliders.
Strength fine-tunes the intensity of a filter by giving you full control over how subtly or boldly the look is applied. Whether you're aiming for a soft touch of nostalgia or a full-on analog aesthetic, you can quickly dial in the perfect balance while editing your picture.
Photo filters are just a starting point — you can always tweak things further. But they help build a basic photography editing foundation, especially if you're editing a batch of images from the same shoot or location.
Before jumping into image editing tools that adjust things like light, color, and tone, it’s smart to start with your photo framing. By finding your preferred composition from the start, you’ll have a better feeling, and view, of all the other adjustments that come later.
Finesse your image composition by cropping, straightening, and skewing your frame.
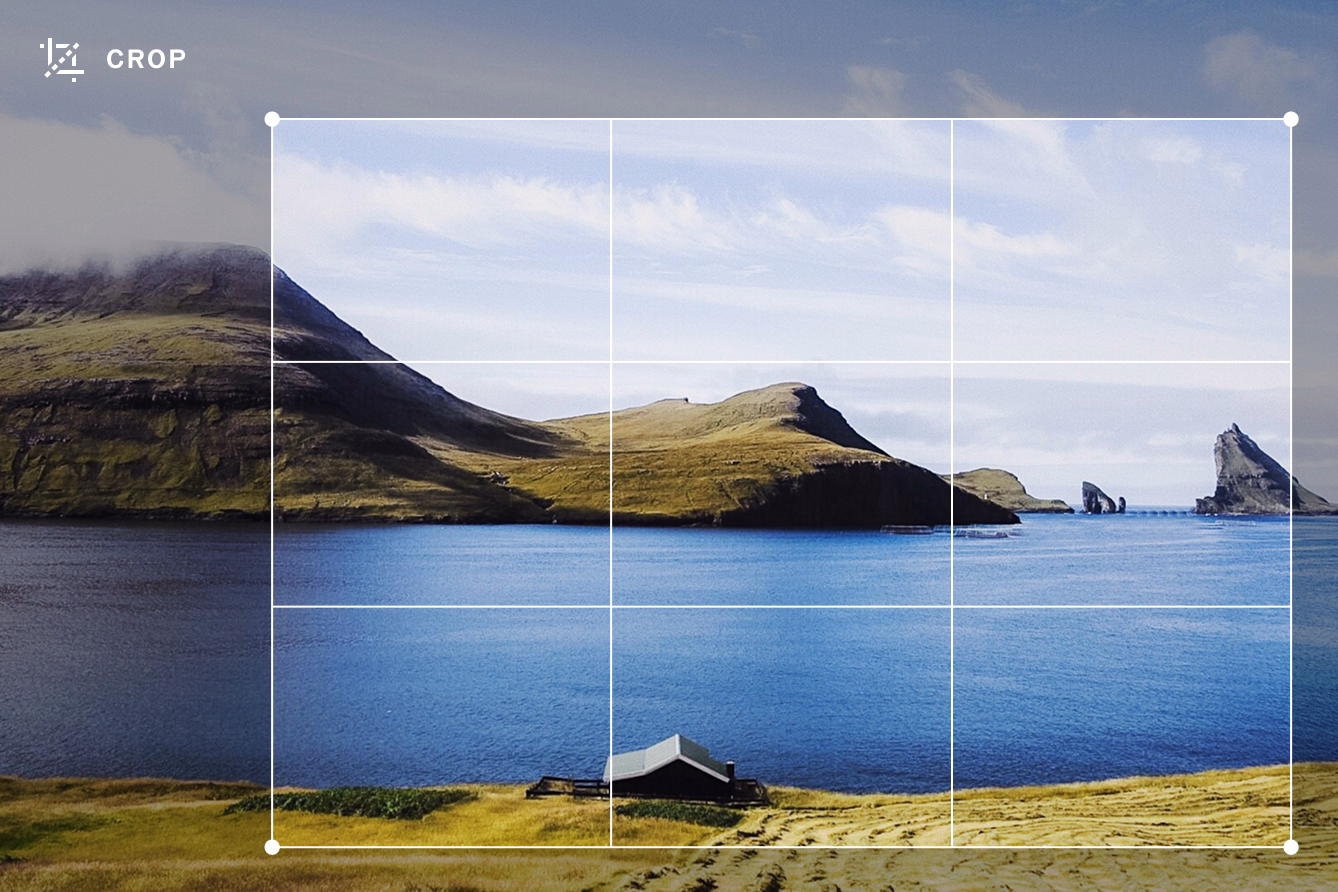
Crop Images
Use an image cropper to drag the corners of your frame to define the edges of your composition. You can ‘zoom’ in on details, cut out distractions, and use pre-defined aspect ratios (like 1:1 square or the popular 4:5 format) to resize pictures for specific platforms like Instagram — or to match your preference.
Photo Editing Tip: To remove unwanted objects from your photos, try using VSCO’s object remover to brush away any small, unwanted distractions.
Straighten Photos
Straightening an image is perfect for leveling a tilted landscape horizon or fixing any camera tilt with just a quick adjustment. VSCO’s image straightener has an automatic grid to get your lines perfectly straight.
Image Editing Tip: Align subjects and lines in your frame using the rule-of-thirds — this often creates a more visually compelling and balanced composition.
Skew Pictures
You can also skew a picture for more precise compositional control. It’s especially helpful for correcting vertical or horizontal distortion — something you’ll often see in architectural photos. While it’s a bit more advanced, it’s worth exploring once you’re comfortable with the basics.
Exposure, contrast, and tone are the foundational tools for editing the quality of light in your photos. These photo editing tools help you control brightness, tonal depth, and dynamic range, ensuring your images feel balanced.
Brighten or Darken Pictures with Exposure
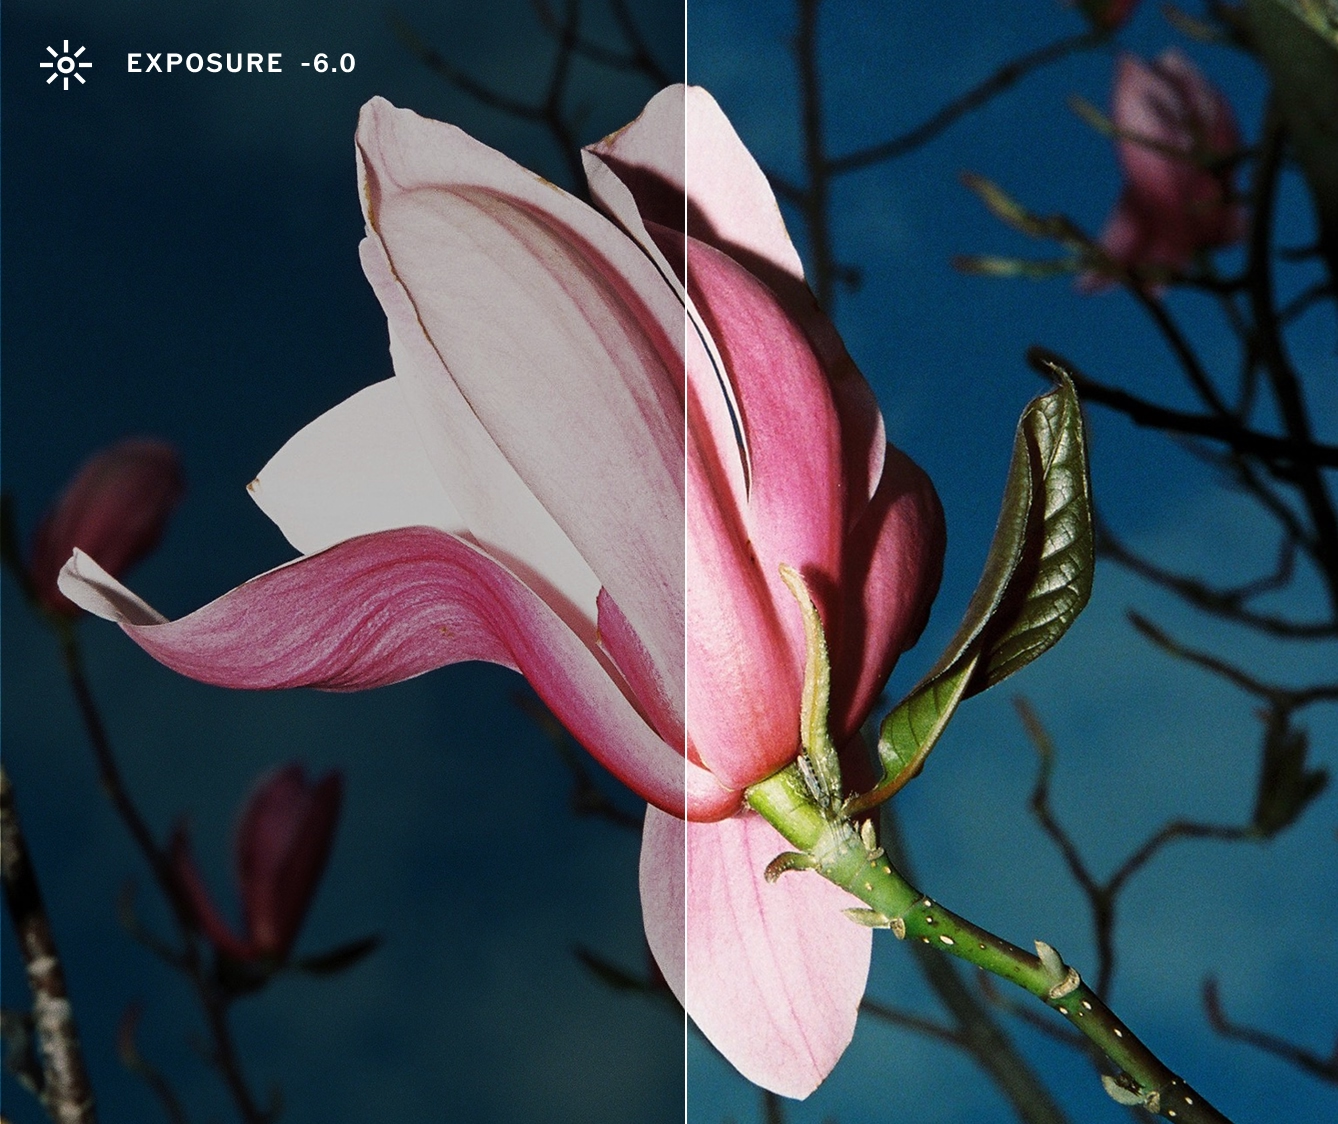
Image exposure is all about how bright or dark your photo appears. It's one of the most essential elements of any image because it determines how much light is captured when you take a photo. If your image is underexposed, it will look too dark and important details get lost in the shadows. If it’s overexposed, it will look too bright — highlights might be blown out or appear completely white.
You can quickly fix exposure issues in editing with an exposure photo editor. When using VSCO’s Exposure slider, a slight bump (sliding to the right) can help bring out hidden details, while dialing it down (sliding to the left) can add mood or richness to an overly bright shot.
Keep in mind the best exposures start when you take a photo — editing in post can vary in effectiveness based on things like your camera type and file settings.
Photo Editing Tip: If a photo looks bright and washed out, lower your exposure, then bump contrast to enhance color and texture.
Edit Image Contrast
Contrast is the difference between the darkest and lightest parts of your image. Adjusting contrast affects the overall tone and feel of a photo. Higher contrast makes the lights lighter and the darks darker — adding definition and a sense of tonal depth. Lower contrast softens that difference, creating a flatter, more muted look.
Too much contrast can make a photo feel harsh by pushing shadows into pure black and blowing out highlights. Experiment to find the right balance — often, a subtle adjustment is all it takes.
Image Editing Tip: Increase photo contrast for more drama and distinct tones. Slide to the left for a soft, dreamy, and more vintage look.
Edit Image Highlights and Shadows with Tone
Editing a picture’s tone with a photo editor helps balance light and dark areas in your photo, whether you're rescuing dark shadows from midday sun or recovering details in highlights during golden hour.
VSCO’s image tone editor has dedicated Shadows and Highlights sliders, offering more precise control than global exposure and contrast adjustments, letting you fine-tune with more creative intention.
White balance and saturation give you the power to fine-tune colors when editing pictures. Whether you're aiming for a warm sunset glow, cool night tones, or vibrant pops of color, mastering these photo editing tools can help you find the perfect hues.

Edit Temperature and Tint with White Balance
White Balance adjusts the overall color tone of your image, controlling how warm or cool the lighting appears. It can make your photo feel more natural, and helps the lighting match what you saw, or felt, when you took the shot.
A warm white balance (more yellow and pink tones) can make a photo feel cozy or recreate golden hour hues. A cool white balance (more blue and green tones) can create a more moody, subdued look. A white balance editor offers Temperature and Tint sliders to fine-tune this balance. Even a small shift can change the look of a picture.
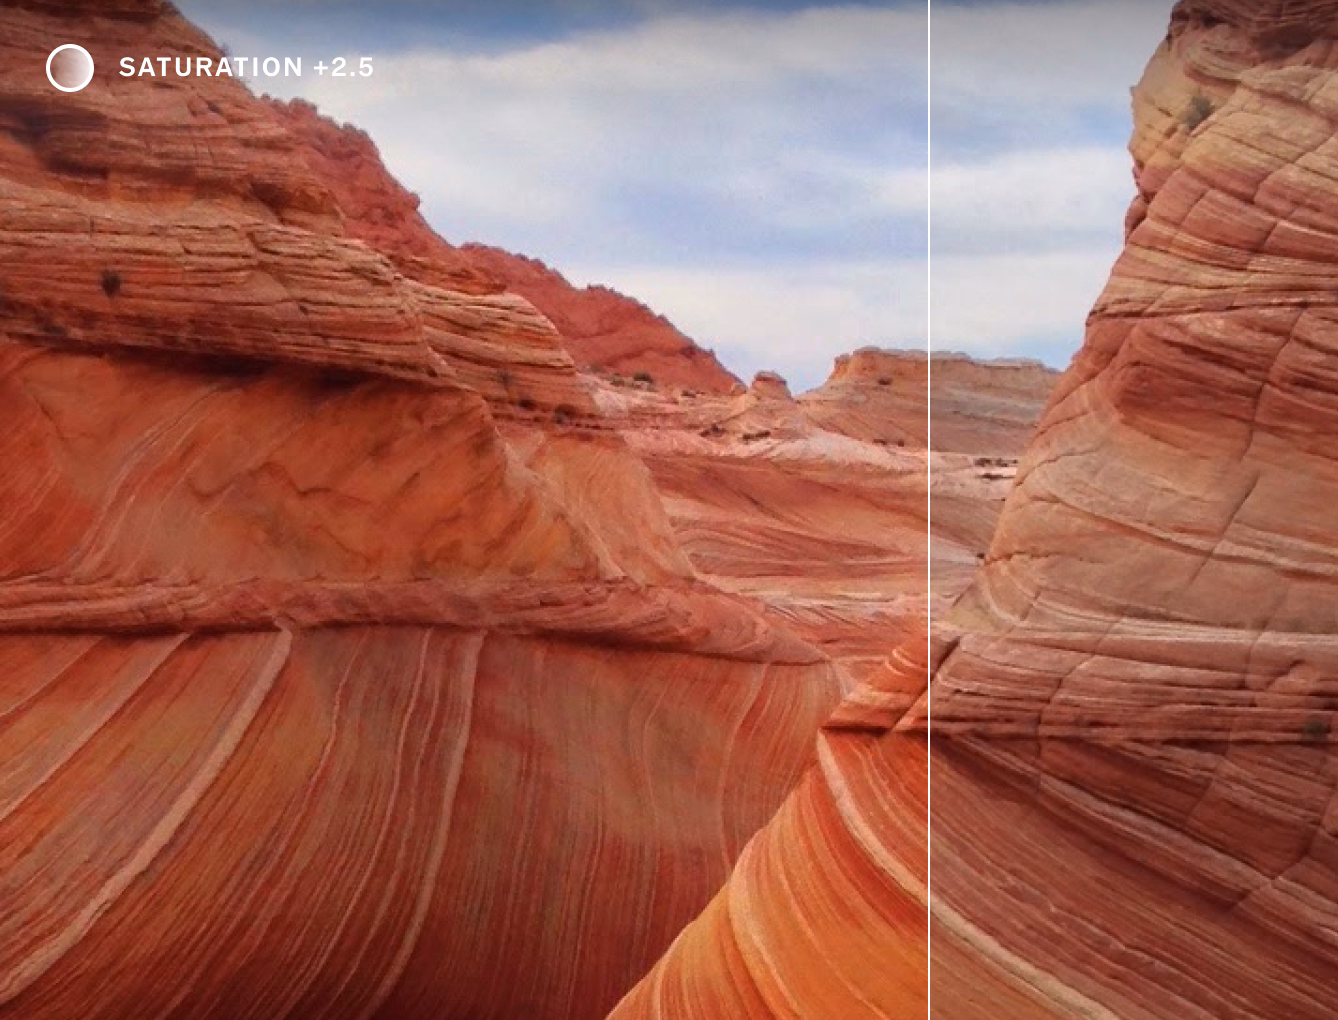
Image Saturation
Saturation affects how intense or muted the colors in your photo appear. Higher saturation makes all the colors in your photos pop — great for bold, vivid images. Lower saturation creates a more muted, understated, or even faded look.
Photo Editing Tip: Use an HSL editor to control individual colors in your composition. Make the red stop sign even brighter, or dial in a deep blue sky.
When editing pictures, Clarity and Sharpen are your go-tos to refine image details and textures. For a final edit that feels polished and refined, use these to add definition and make details appear more crisp and focused.
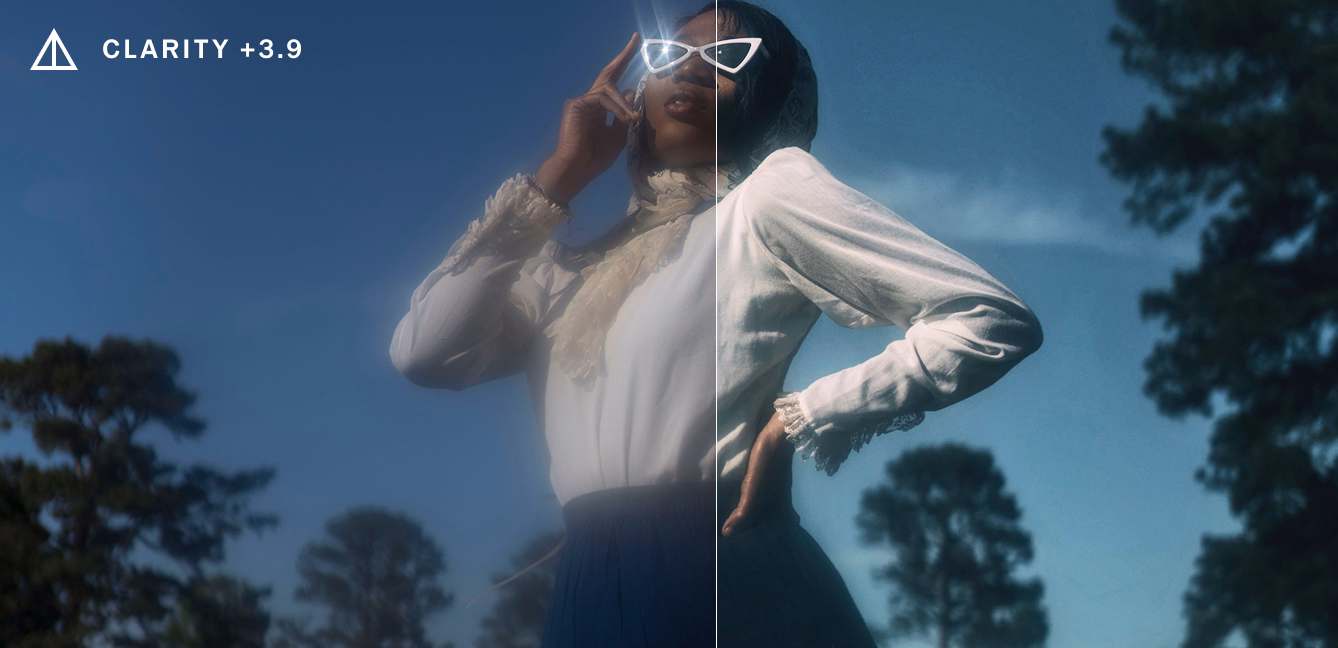
Image Clarity
Picture clarity enhances contrast around the edges of larger subjects and details, giving your photo a feeling of more texture and depth.
Photo Editing Tip: Clarity enhances larger details and textures, while sharpening is ideal for smaller details. Both should be applied in moderation to maintain your image's overall quality.
Image Sharpening
Sharpening makes your image appear clearer and more focused by enhancing the edges around fine details. It’s great for giving your photos that crisp, in-focus look.
Image Editing Tip: On the opposite end of sharpening, a photo blur effect creates a dreamy, soft bokeh-like aesthetic. Using a photo blur editor controls which areas of your photo appear in or out of focus, like adding a blurry background.
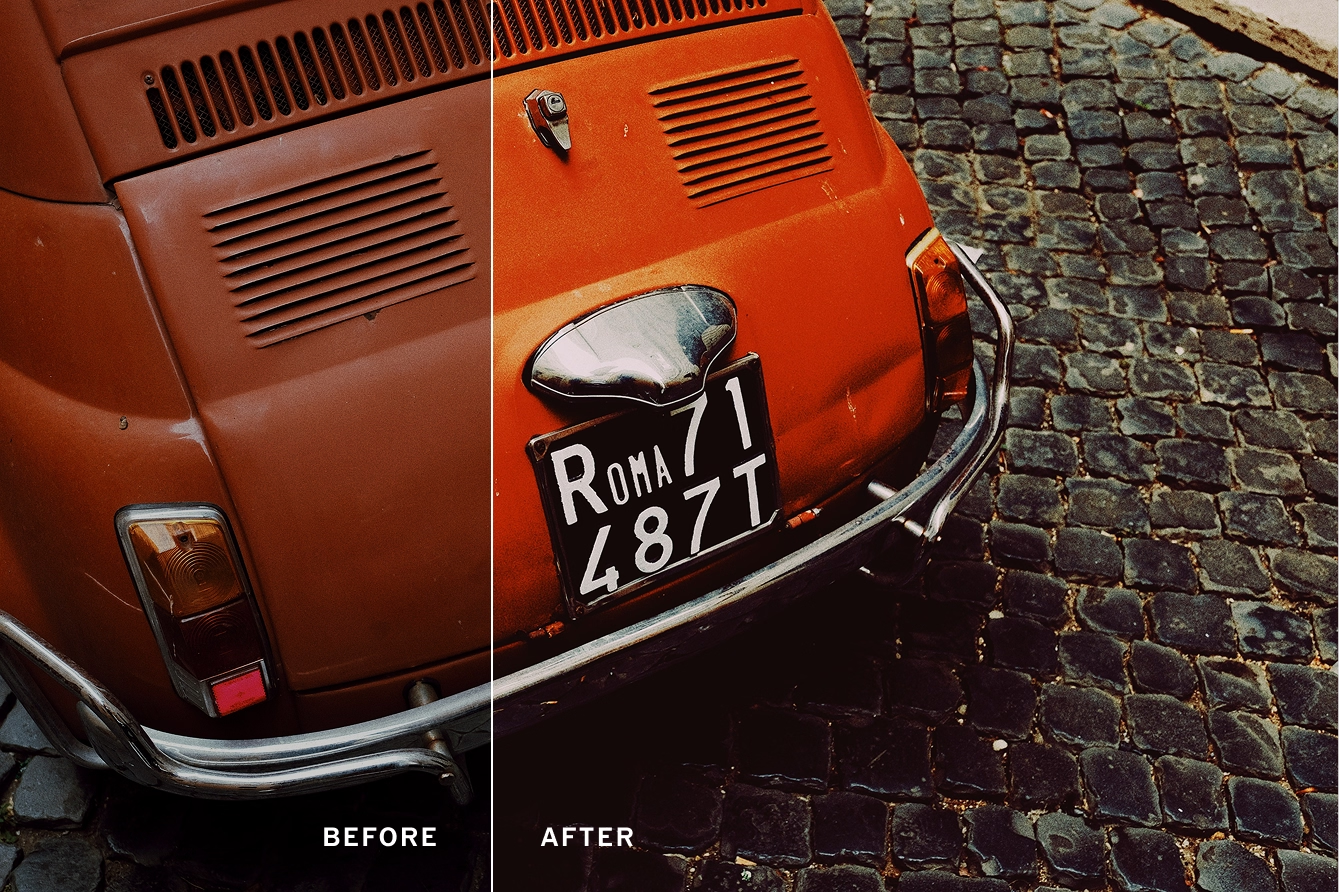
If you love the nostalgic, textured feel of analog film, there are a few simple photo editing techniques that can give your photos that authentic vintage look. Whether you’re after the grainy texture of old film stocks or the soft, faded tones of a classic print, these tools bring a timeless quality to your images.
Film Grain Texture
Grainy texture is one of the most iconic characteristics of analog photography. By adding a film grain overlay, you can mimic the tactile texture and subtle character of film. A small amount of film grain is usually all you need, too much grain can make your image look gritty or rough, often referred to as “noisy.”
Vintage Image Fade Effect
Fade mimics the look of pictures that have aged over time. It softens the shadows and reduces the intensity of colors, giving your image a dreamy, vintage feel. Apply a slight image fade to give your photos that “washed-out” look, often seen in old film prints.
Read our guide on How to Make Photos Look Like Film for more tips.
Getting a film look on digital photos
Film photo and video effects are where things get fun. VSCO’s Film FX — film effects, filters, and overlays — add a bit of grit, light, and atmosphere, giving your photos an unmistakable film aesthetic.
- Film frame overlays add the classic borders you’d find on a roll of film, giving your images a true analog feel.
- Light leaks and lens flares mimic the natural imperfections of film photography, where light would often spill in and create beautiful, unexpected highlights.
- Distressing effects add scratches, dust, or other age-related details, making your photo feel like it’s been pulled out of a forgotten photo album.
Filters that make photos look like film
Film filters, like VSCO’s popular Film X presets, are the perfect shortcut to getting the look of real film. Our film filters are carefully designed to emulate the tones, colors, and textures of popular film stocks. Whether you want the soft, warm colors of Kodak Portra, the vivid color and contrast of Fuji Velvia, or the classic black and white look of Ilford HP5, Film X presets have you covered.

With VSCO, you can save your favorite edits as a Recipe. It’s an easy way to apply the same look to future images with just one tap — perfect for creating a unified feeling across your work and for fast batch photo editing.
To sharpen your picture editing skills, pay attention to inspiring images that capture your attention. Browse your Feed and take note of what presets your favorite photographers are using. The more you look, the more you’ll uncover patterns and start developing your own signature style.
Build a better portfolio website with VSCO Sites
A good social media strategy will often focus on driving visitors to your primary photography or portfolio website. With VSCO Sites, you can build a website in seconds using the same posts, galleries, and blogs from your profile. Easily curate your best work and update your portfolio, all with VSCO.
Once you’re happy with your photo edit, tap the Share icon — from there you can save your edit as a new photo in your Photos app, post to VSCO, share directly to social media, and even share your editing Recipe. If you're working with RAW or ProRAW files, VSCO will automatically export a high-res JPEG that’s perfect for printing, posting, or sending to friends.
Always keep the original: When you edit a picture, make sure you have an untouched version saved just in case. VSCO edits are nondestructive — your original image stays untouched in your Photos app. You never know when you might want to go back or start fresh.
Edit photos with purpose: Ask yourself, what do I want this image to feel like? As you develop your skills and master photo editing basics, your eye for style will also get better.
You don’t need to use every tool: Sometimes one small adjustment is all a photo needs. Too much editing can detract from a photo, or worse, erode your picture’s quality.
Shoot with intention: The better your starting photo, the easier the edit. Great light, thoughtful framing, and sharp focus go a long way.
You don’t need to be a pro to edit a picture like one
Photo editing is a creative process. It’s not about perfection — it’s about exploring, playing with light and color, and seeing where each image takes you. Start by editing a picture with what feels right, keep experimenting, and trust your instincts. That’s how your style finds you.
Whether you're building a portfolio or just looking to elevate your camera roll — VSCO is here to help you express yourself through every image you edit. Continue learning with more guides and articles, from learning photography basics, to starting a photography business.
Download the VSCO photo editor and mobile app to start editing your pictures.