
Lighting is one of the most powerful tools a photographer has. It shapes mood, emphasizes texture, and guides the viewer’s eye. Counterintuitively, good lighting is often more about the shadows than the highlights. We perceive shape, depth, and texture in a photograph largely through how light and shadow interact.
Two key qualities to master are light quality (hard vs. soft) and light direction. We'll cover both in this guide.
Types of Light in Photography
When learning the types of light in photography, one of the most important distinctions is between hard and soft light. Understanding how light behaves — whether it’s casting sharp shadows or wrapping gently around a subject — can help you shape mood, texture, and emotion in your photos. Let’s break down the difference.
Hard vs. Soft Light
Whether you’re chasing sharp contrast or soft glow, knowing how to shape light lets you tell the story you’re after. We asked our photography community on Instagram whether they prefer using hard or soft light in photos — 63% love soft light, but hard light held its own with 37%. Let’s explore why both matter.
Hard Light Photography
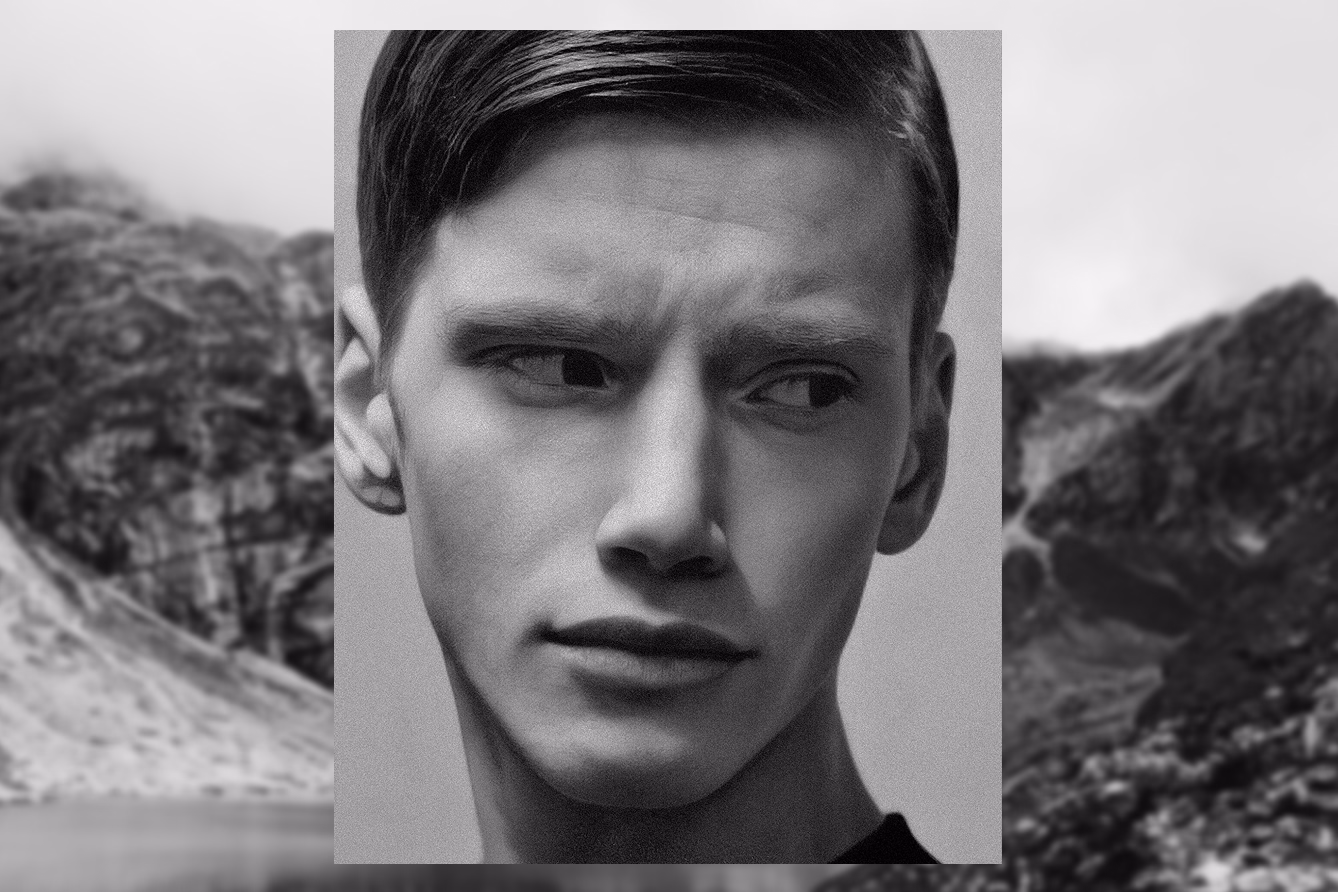
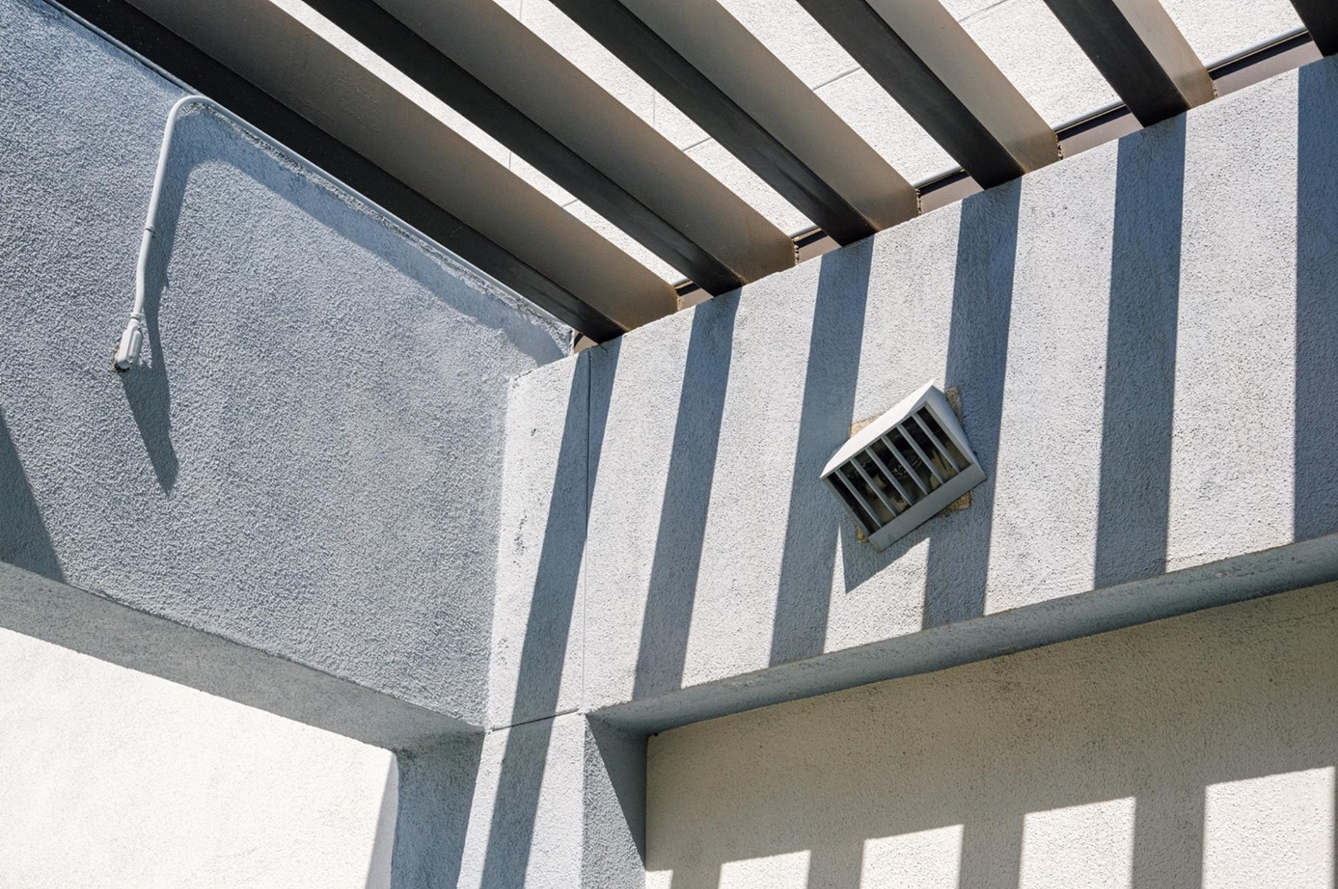
Hard light comes from a small or direct source, like midday sun or a bare bulb. It creates sharp, defined shadows and high contrast. This emphasizes shape and texture, making it perfect for dramatic portraits or bold graphic compositions.
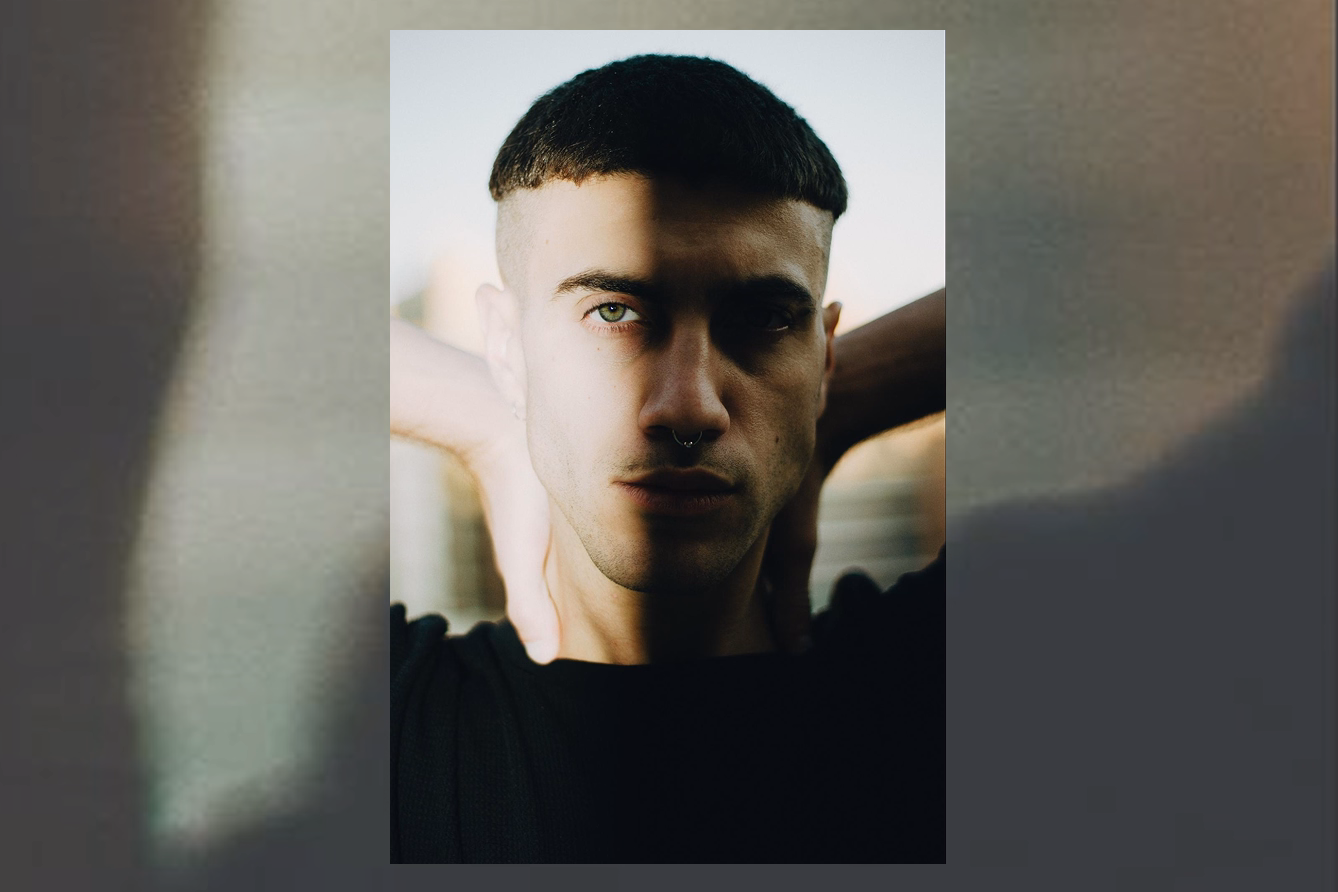
Example: A face lit by harsh sunlight, shadows cutting across cheekbones and nose.
Hard light can also be used to create patterns or textures across a subject, adding interest or reinforcing a mood.
Soft Light Photography
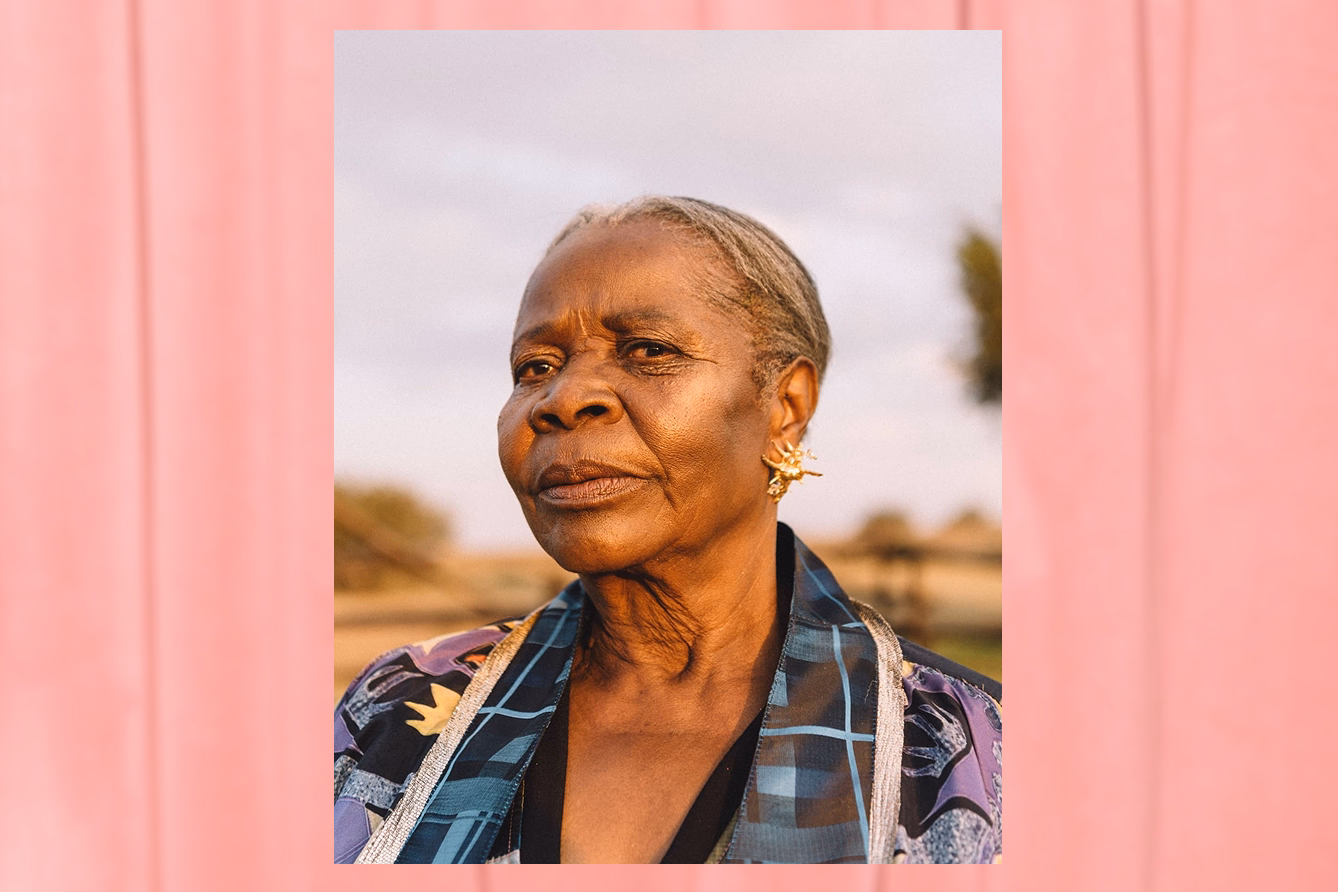
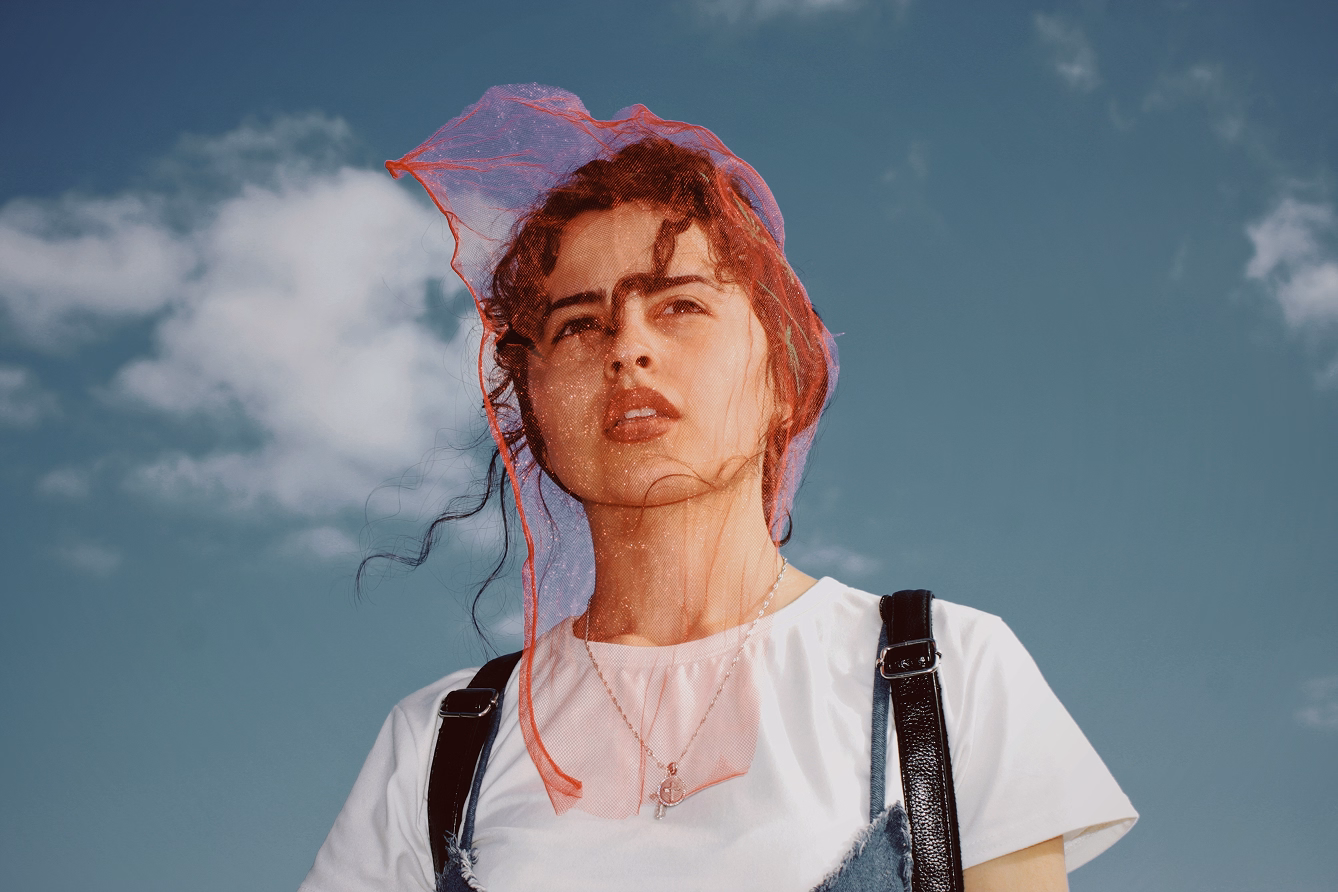
Soft light happens when the source is large or diffused, like an overcast sky or sunlight through sheer curtains. Light modifiers such as softboxes, umbrellas, and beauty dishes achieve this effect by spreading and diffusing the light. Soft light produces gentle shadows and smooth transitions, creating a forgiving, natural mood that flatters portraits.
Example: Golden hour light coming through clouds or a frosted window, wrapping softly around a subject.

Relative Size
Softness depends on the size of the light source relative to your subject. The sun is massive, but because it’s so far away it acts like a small, hard source. A flashlight can be huge to a macro subject.
Tip: To soften light, make the source bigger relative to your subject, or diffuse it with something translucent like a softbox or sheer window curtain.
Natural vs. Artificial Light
As you’re shaping light and understanding how it hits your subject, it helps to know where it’s coming from.
There are two main photography light sources: natural light and artificial light.
Each offers different possibilities for mood, control, and creative freedom. Knowing the difference helps you choose the right lighting setup for the feeling you want to create.
Natural Light
- Free and widely available — think sunlight, skylight, window light
- Looks familiar because it mirrors the light we experience every day
- Changes throughout the day and seasons, giving your photos endless variety
- Great for portraits, landscapes, and spontaneous shoots
- Less predictable, but can be shaped with reflectors, diffusers, or sheer curtains
- Golden hour and overcast skies offer soft, flattering tones that are easy on the eyes
Artificial Light
- Controlled and consistent, ideal for studio setups or nighttime shoots
- Includes flash, LEDs, strobes, continuous lights, and even household lamps
- Lets you shoot at any time of day, in any space
- Takes more setup, but it gives you full control over brightness, direction, and color
- Easy to shape with modifiers like softboxes, gels, and grids to match your vision
Tip: Don’t think of one as better than the other. Use what best captures the look you’re after, or mix both. A window and a lamp can go a long way together.
Direction of Light
Once you understand the types of light in photography, the next step is learning how to position it. The direction of light plays a huge role in how your subject is seen, literally. Light can flatten or sculpt, reveal or conceal.
Whether you’re shooting portraits or still life, adjusting the angle of your light source is one of the fastest ways to shift mood and add depth. Here are 4 common setups to get you started:
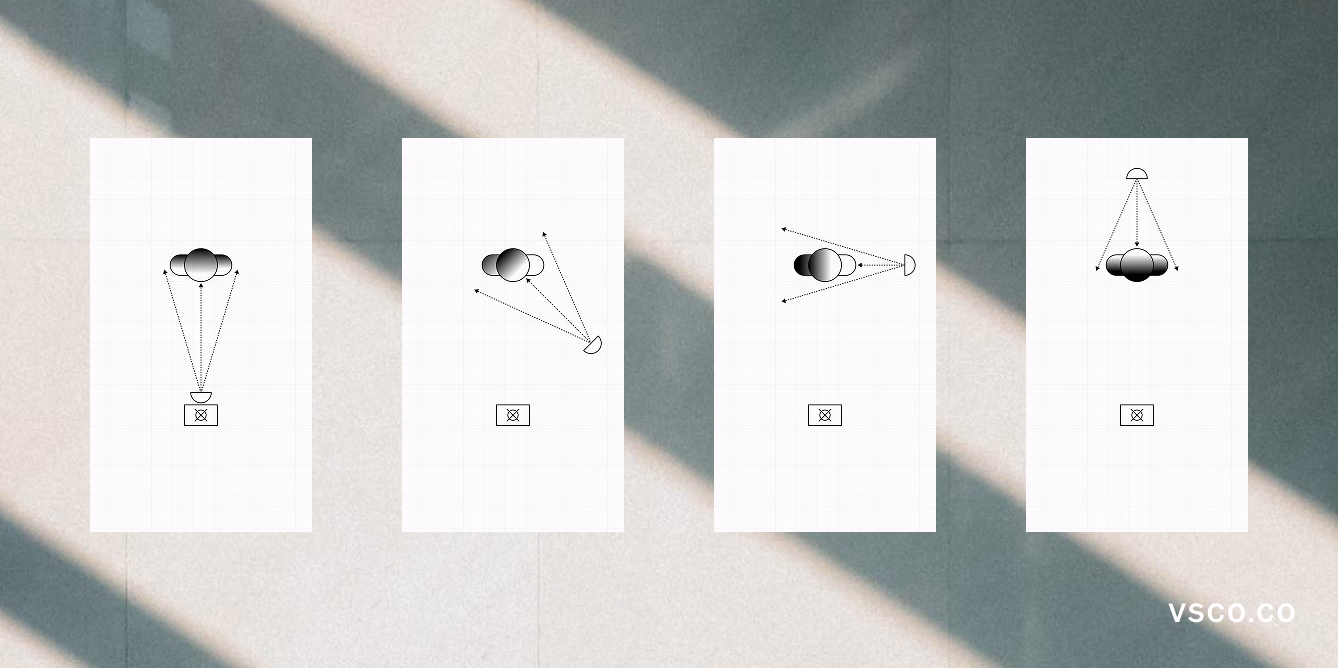
Front Light
Front light illuminates the subject evenly with minimal shadows. Simple and clear, but can feel flat or one-dimensional.
45° Angled Light
45° angled light adds depth and texture, widely used for portraits and still life to create natural dimension.
Side Light
Side light is striking and dramatic, and often paired with hard light for bold contrast.
Back Light

Back light creates rim light or silhouettes depending on exposure. Great for atmosphere, glowing edges, or subject separation.
Lighting for Portrait Photography
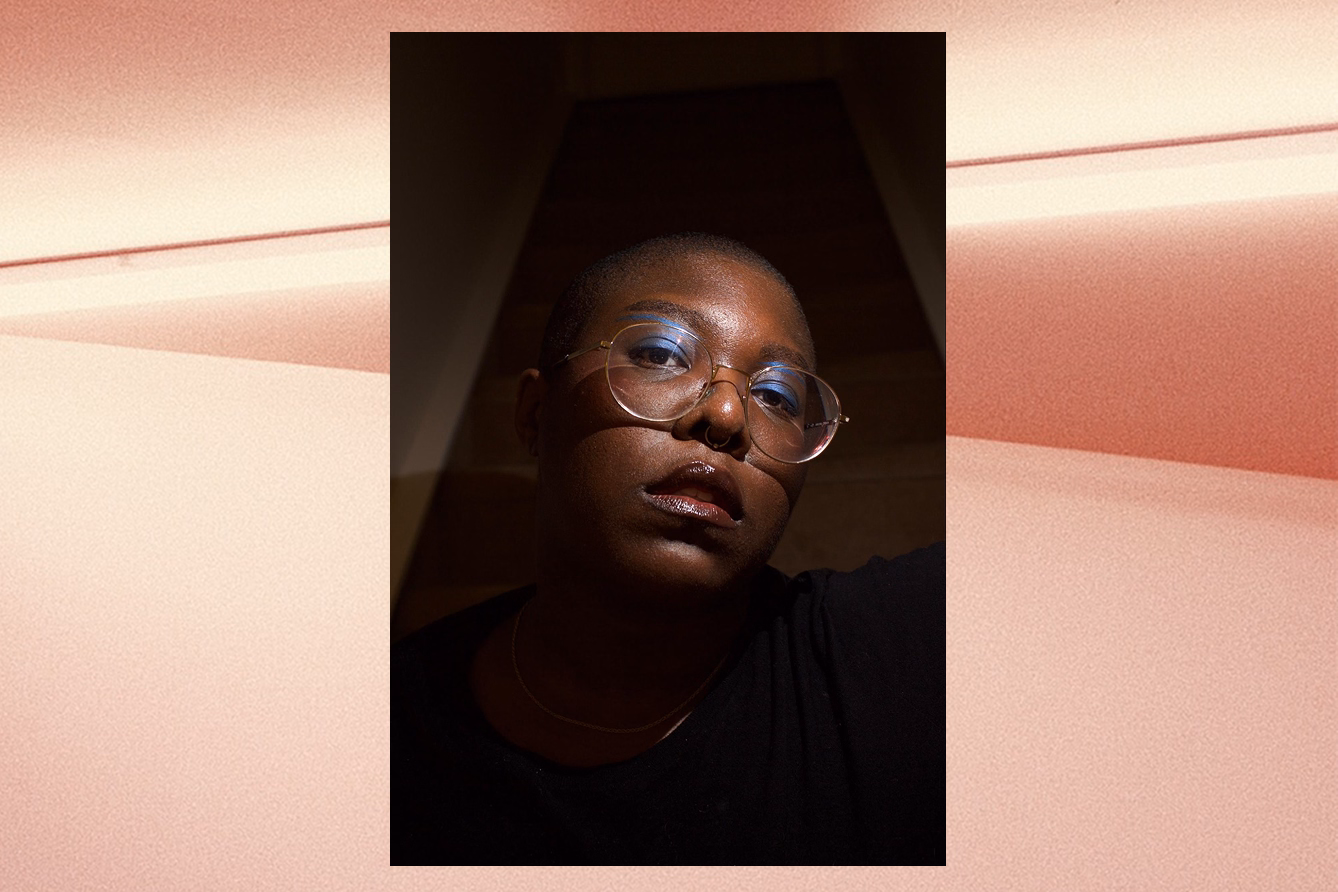
When it comes to lighting for portrait photography, small shifts in placement can make a big impact — especially on how the face is shaped, shadowed, and seen.
- Eyes usually need light, so keep the source near or slightly above eye level.
- The nose creates key shadows that add depth — watch how they fall.
- Light from below is a classic horror look, but works well as subtle fill when paired with a main light above.
- Light high above can be unflattering, but from behind and above (a “hair light” or a "kicker" light) it adds separation and dimension.
Tip: A 45° angle at eye level is a safe starting point, but don’t be afraid to experiment.
Putting It Together for Your Ideal Photo Lighting
Once you understand light quality and direction, you can design your images instead of leaving them to chance.
- Want bold and dramatic? Try hard side light.
- Want soft and intimate? Go with diffused front or angled light.
Use whatever sources you have — the sun, lamps, windows, reflectors — and study how shadows fall. With practice, you’ll start to see light as a tool you can shape to tell stories.
Try this exercise:
- Photograph the same subject in hard light and soft light.
- Repeat with the light from different directions.
- Compare results: Which feels dramatic? Which feels natural? Which best fits your story?
Lighting is the heart of photography. Once you learn to see it, you’ll discover endless creative possibilities in every scene.
Adjusting the Light in Your Image in Post
Not every photo starts with perfect lighting, and that’s okay. With the right photo editing tools, you can refine the light in your image to match the feeling you had in the moment.
A photo editor like VSCO is designed to help you do just that. Use Exposure to brighten or darken your image, Dodge & Burn to adjust image exposure in specific areas of the image, Contrast to boost dimension, and Shadow and Highlight controls to bring back lost detail. Tools like Tone, White Balance, and Tint help you shift the color temperature and balance to create atmosphere.
If you’re capturing in the moment, the VSCO Capture camera app gives you manual control over ISO, shutter speed, and white balance, so you can shape your light before you even tap the shutter.
Tip: Don’t be afraid to re-light your photo in post using a photo editor. Editing is part of the creative process, not a correction—it’s where you bring your vision to life.

Using Lighting Techniques in Your Photos
Light is one of the most expressive tools you have — whether you're capturing bold shadows or soft glow, each choice shapes the mood of your photo. The best way to grow? Practice seeing how light behaves and experiment with how you use it.
Start with what you have. Shoot with your existing camera or the VSCO Capture camera app to test different lighting setups in real time. Try backlighting at golden hour or hard side light indoors with a single lamp. Then fine-tune your photography with a photo editor to adjust exposure, contrast, shadows, and highlights until the look matches the story you want to tell.
Lighting isn’t just technical, it’s emotional. It’s how you guide the eye, shape your subject, and say something without words. So keep experimenting, keep noticing, and keep creating. Your light is your signature.